
tbdmaker
Publishing random stuff that interests me.
Recent Posts
- Ping
- I'm still here - Proof
- Space Marine - Take 2 - Part 2
- Necron Terrain - Research
- Necron Terrain - preamble
- Space Marine - Take 2
- Battle Ready Space Marine
- Lazy Warhammer Sunday - Part 2
- Lazy Warhammer Sunday
- Warhammer
- bbguns4less - Jumbo Mystery Box
- Animated Intro Logo
- Intempo Mini Action Camera
- Electronics Store near Me
- Marvel's Midnight Suns
- XCOM: Chimera Squad
- Patreon Integration
- Raining, wet and muddy but...
- Fritzing Fabrication - NRF24L01P + DLP2232M
- BOBOO RC Drone for Kids
Rainy Sunday. I decided to take a trip to the local model shop to seek some advice on how to fill those huge holes in my Samus helmet.
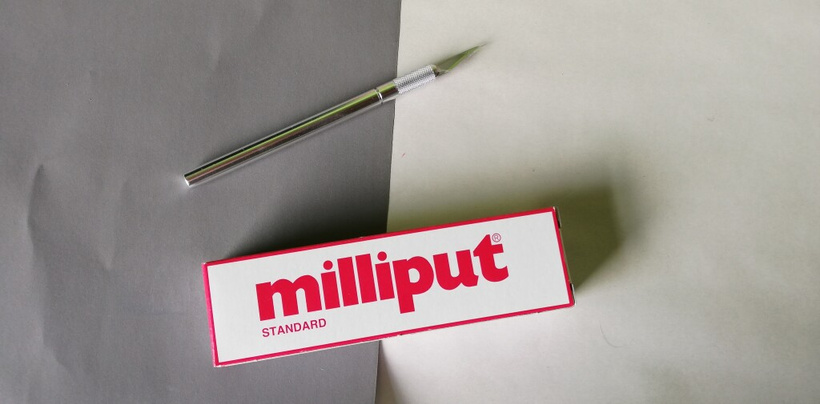
In the end I settled on trying out some Milliput. Its not something I've used for a few decades but I remember it being pretty solid and sandable. I also picked up a new craft knife and some fine grained sand paper. That's my budget blown for the month :-(
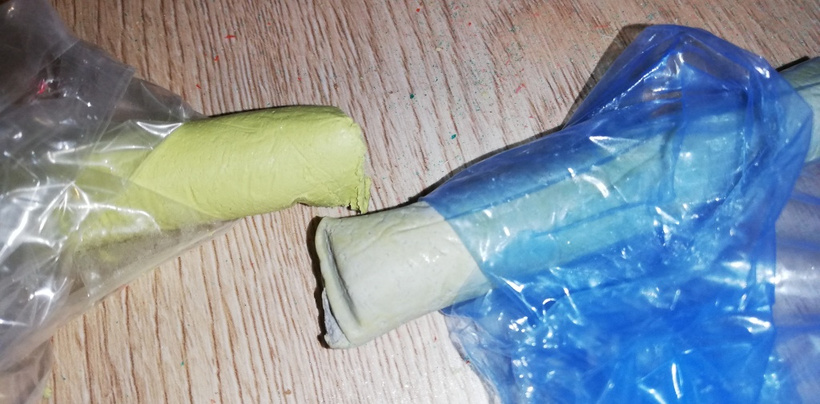
Milliput is a two part filler. Just chop off equal parts and pretend your a kid mixing two colours of plasticine.
All being well, you'll end up with a ball of putty you can mould and press into your model.
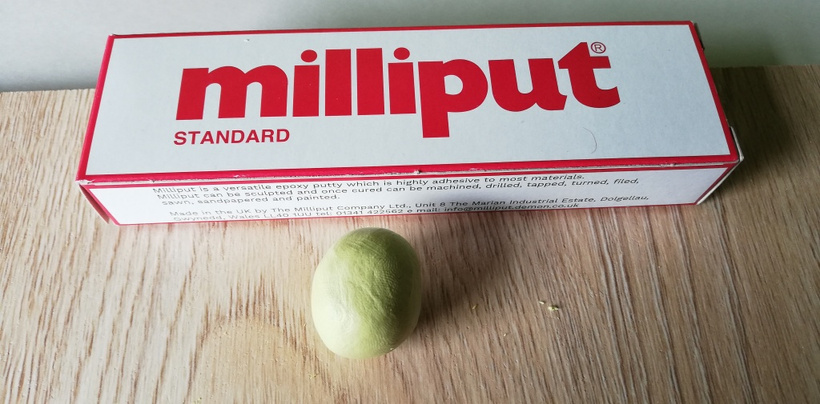
I pinched off small, pea sized pieces and pressed them into the holes pinching both sides with my thumb and finger. I forced the putty from the inside of the helmet so that I wouldn't have to sand as much of the hardened cement later.
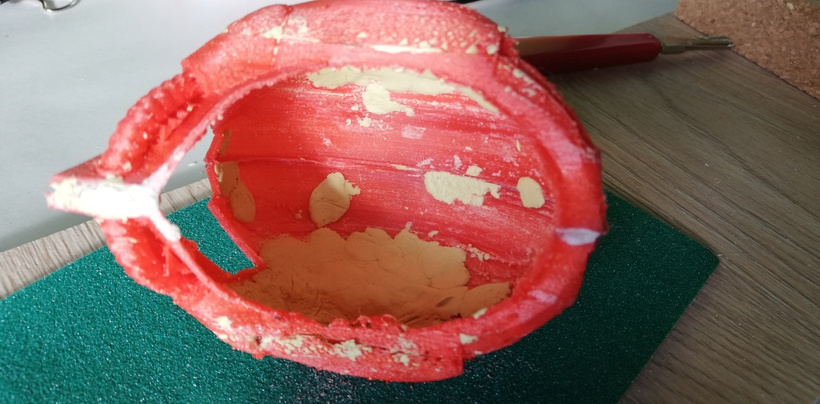
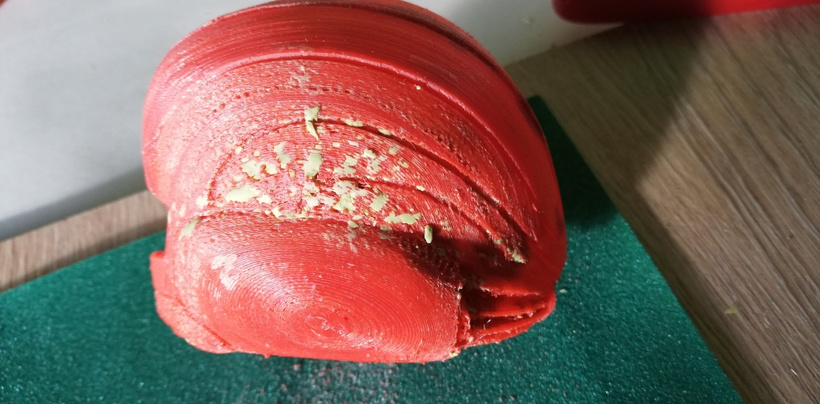
It worked quite well. In hindsight I should have mixed in a little water with the putty to make it a little more pliable. As I worked, the putty started to dry out which required me to press a little harder. The model is quite thin and I managed to press too hard resulting in a few layers breaking apart. A little water would have helped reduce the amount of effort required and perhaps I wouldn't have left so much of the putty inside the helmet.
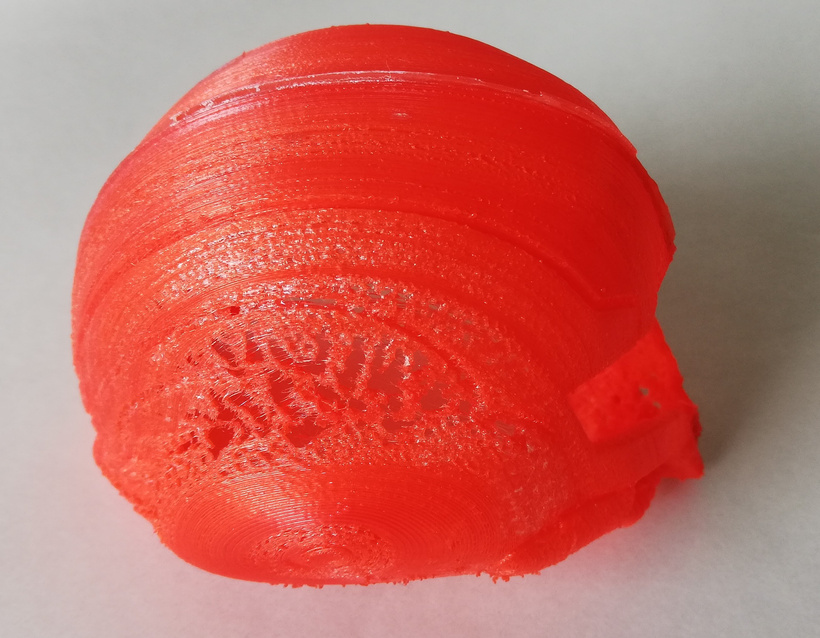
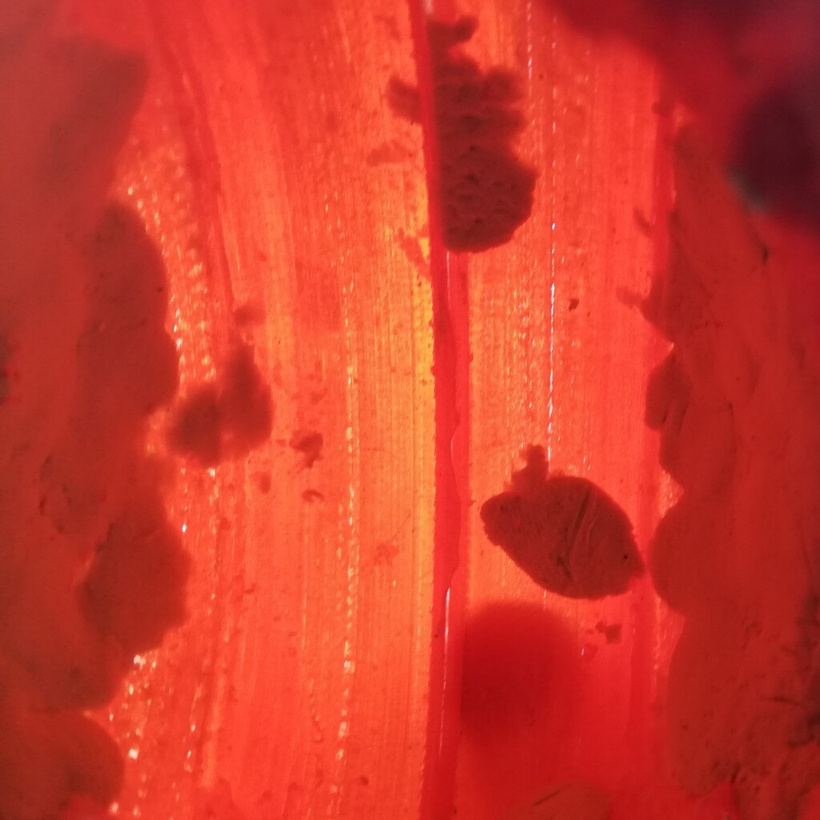
As you can see below, the helmet is so thin that light can easily pass through it. You can spot where the putty has been applied. You can also see where the layers didn't adhere correctly through printing.
Next Step: Wait for the putty to harden.


