
tbdmaker
Publishing random stuff that interests me.
Recent Posts
- Ping
- I'm still here - Proof
- Space Marine - Take 2 - Part 2
- Necron Terrain - Research
- Necron Terrain - preamble
- Space Marine - Take 2
- Battle Ready Space Marine
- Lazy Warhammer Sunday - Part 2
- Lazy Warhammer Sunday
- Warhammer
- bbguns4less - Jumbo Mystery Box
- Animated Intro Logo
- Intempo Mini Action Camera
- Electronics Store near Me
- Marvel's Midnight Suns
- XCOM: Chimera Squad
- Patreon Integration
- Raining, wet and muddy but...
- Fritzing Fabrication - NRF24L01P + DLP2232M
- BOBOO RC Drone for Kids
Day 2 continued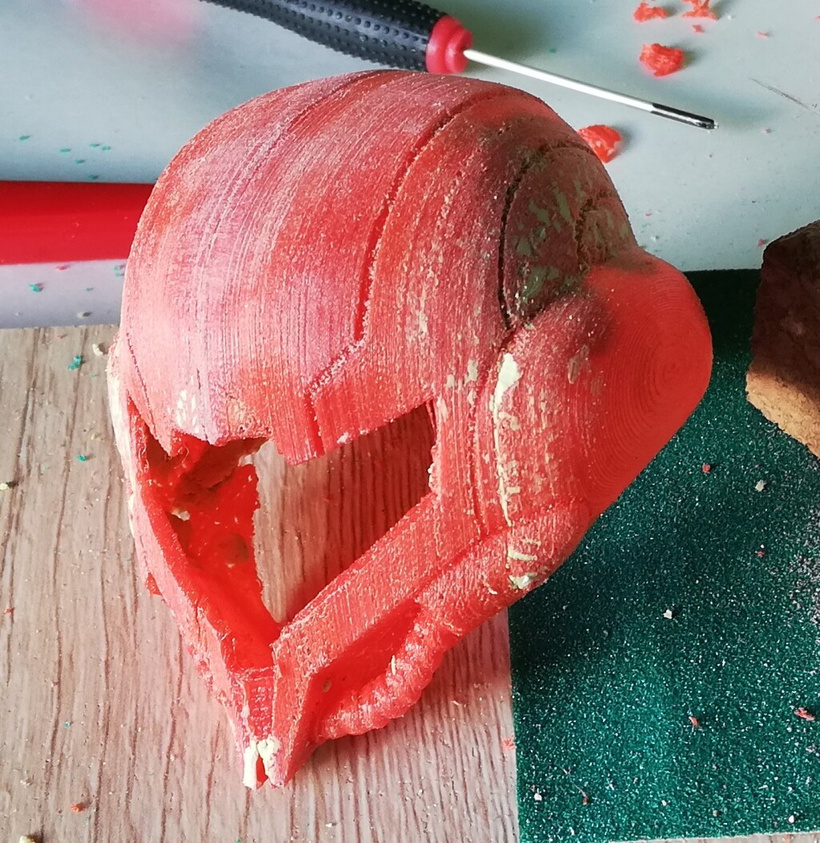
After three hours of waiting for the milliput cement to harden I decided to start sanding. The putty wasn't quite set which worked in my favour. I was able to sand down both the putty and some of the plastic. The results aren't smooth but they'll do for now. As the putty was relatively soft, I was able to remove it from areas I didn't need it, i.e. some of the outer groves. I was able to remove some of the unwanted plastic supports I'd failed to remove after the initial print.
The model was still a bit weak in places so I decided to have a go at making milliput slurry. As before, I took equal parts of the milliput and mixed it together. I then added a bit of water and mixed it as well as I could with a lollipop stick and an old paint brush.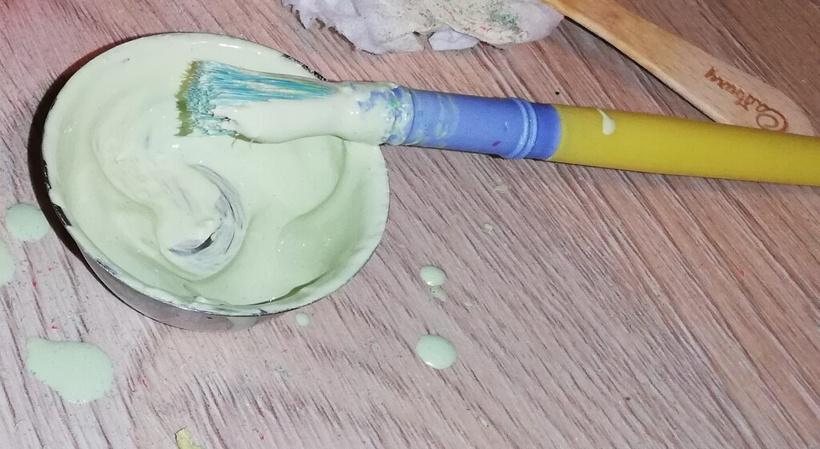
I then used the paint brush to apply a thickish coat to the inside of the helmet. The green tinge to the slurry is the result of paint left on the old paint brush.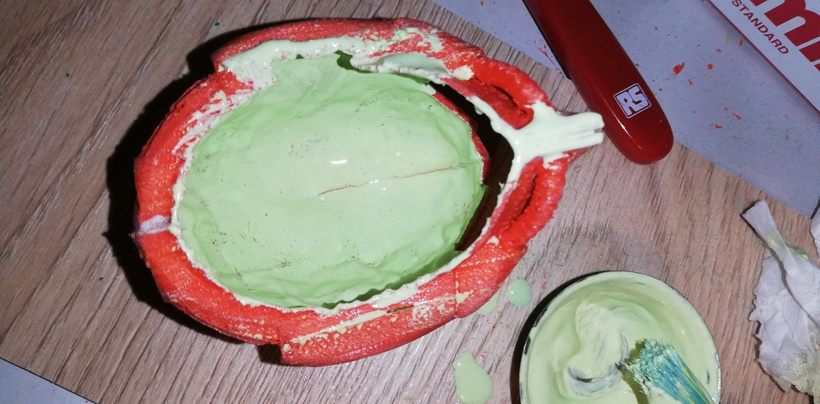
I had some slurry left over so I treated a little Pikachu :-)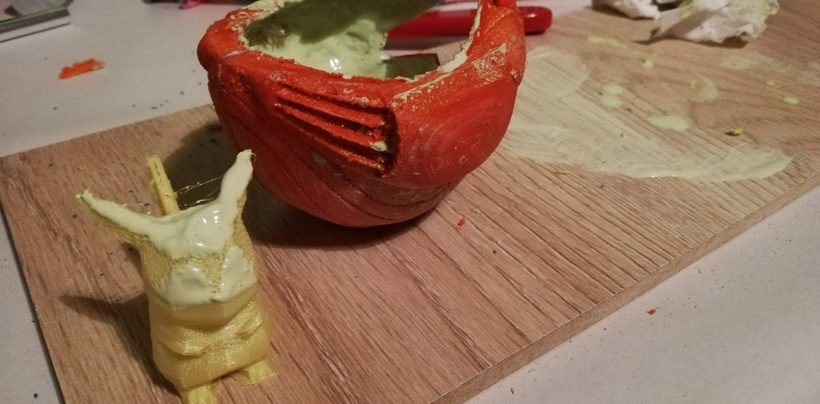
I scraped the remainder of the slurry into a glass jar and screwed the lid on. Perhaps the slurry in the jar won't set. I'll check later.
The slurry will take a long time to set so I called it a night and headed to bed.....
The morning after...
After grabbing a cup of tea, I headed to the office to check the results.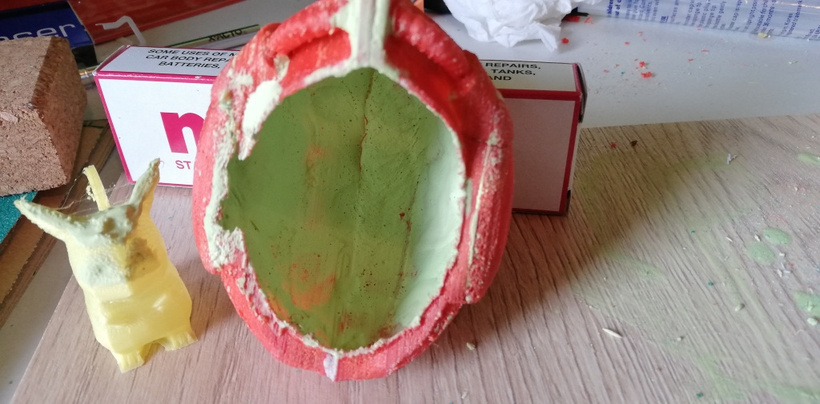
Not bad at all. The slurry wasn't applied evenly but it has set solid. The helmet is pretty rigid and feels much stronger. Sanding the model down will be much easier now.
Next step: Sand, prep and paint.


