
tbdmaker
Publishing random stuff that interests me.
Recent Posts
- Ping
- I'm still here - Proof
- Space Marine - Take 2 - Part 2
- Necron Terrain - Research
- Necron Terrain - preamble
- Space Marine - Take 2
- Battle Ready Space Marine
- Lazy Warhammer Sunday - Part 2
- Lazy Warhammer Sunday
- Warhammer
- bbguns4less - Jumbo Mystery Box
- Animated Intro Logo
- Intempo Mini Action Camera
- Electronics Store near Me
- Marvel's Midnight Suns
- XCOM: Chimera Squad
- Patreon Integration
- Raining, wet and muddy but...
- Fritzing Fabrication - NRF24L01P + DLP2232M
- BOBOO RC Drone for Kids
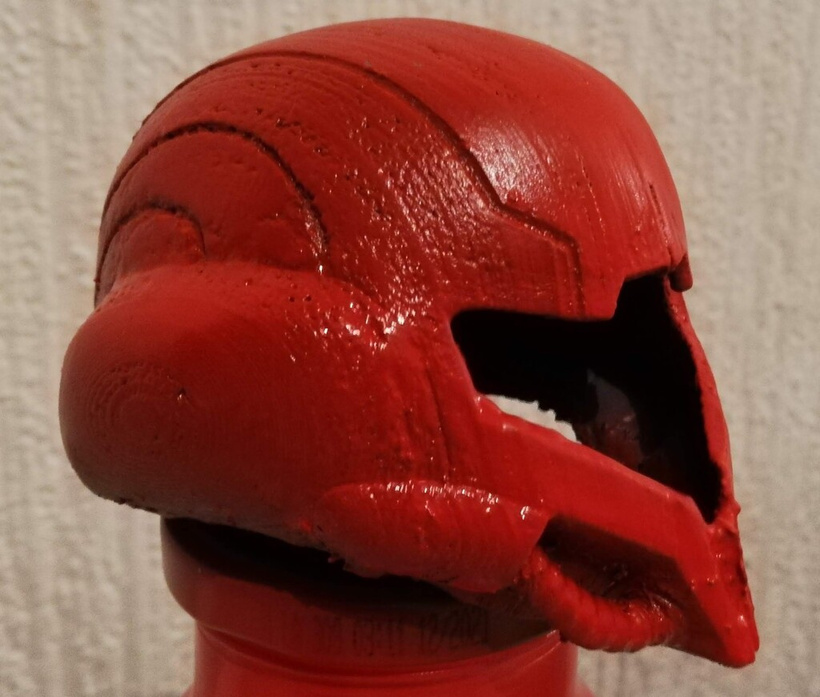
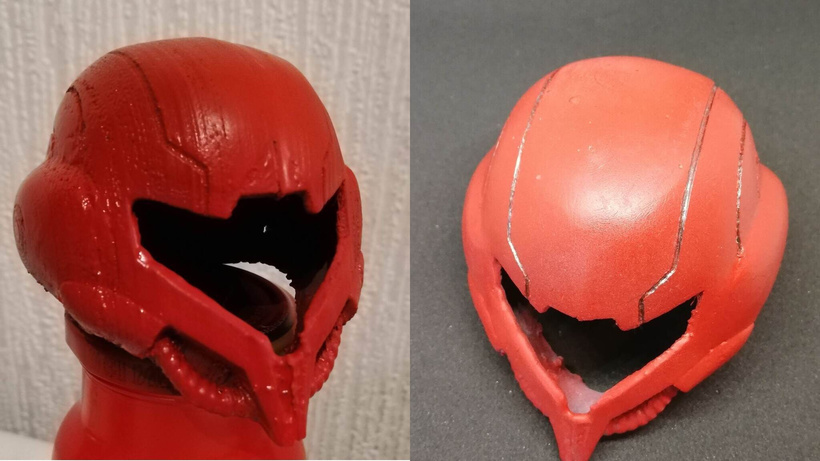
I think by now I'd resigned myself to the fact that I wasn't going to get the finish I expected but I was determined to see just how much I could rescue this model.
After day 3 I'd ended up with a rather grainy paint job. The print layers were quite visible along with the other imperfections...
First step today would be to sand back the model to see if I could get a smoother finish. I started with my little mouse sander then switched to sanding by hand...
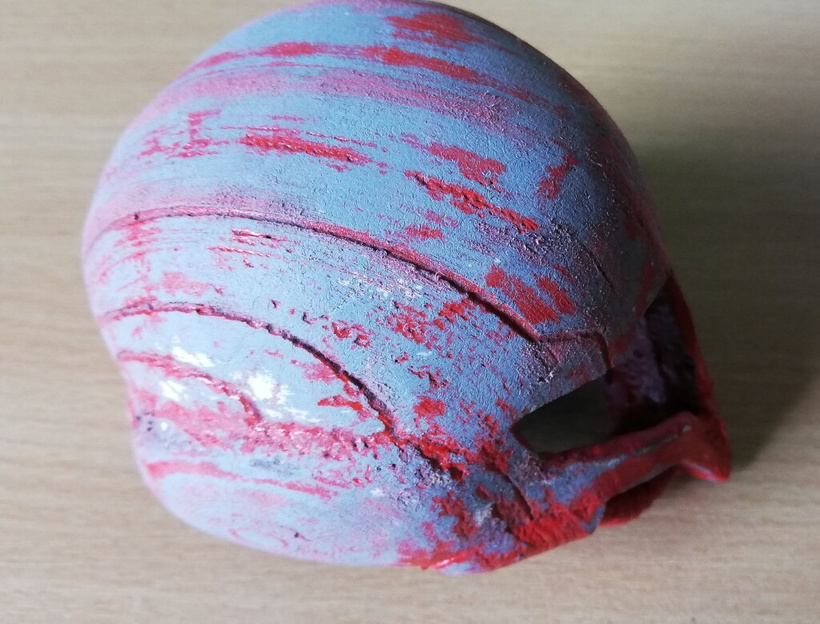
In most areas I sanded back to the primer but in other areas I sanded back down to the plastic.
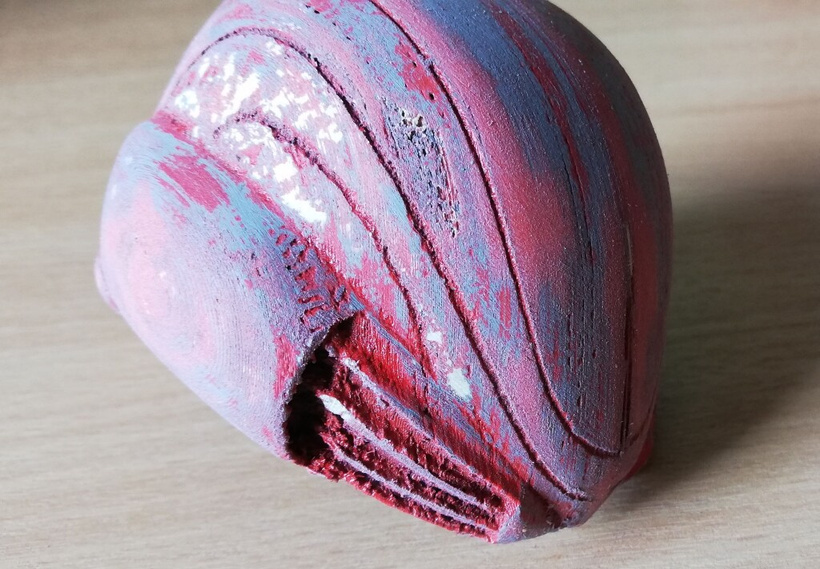
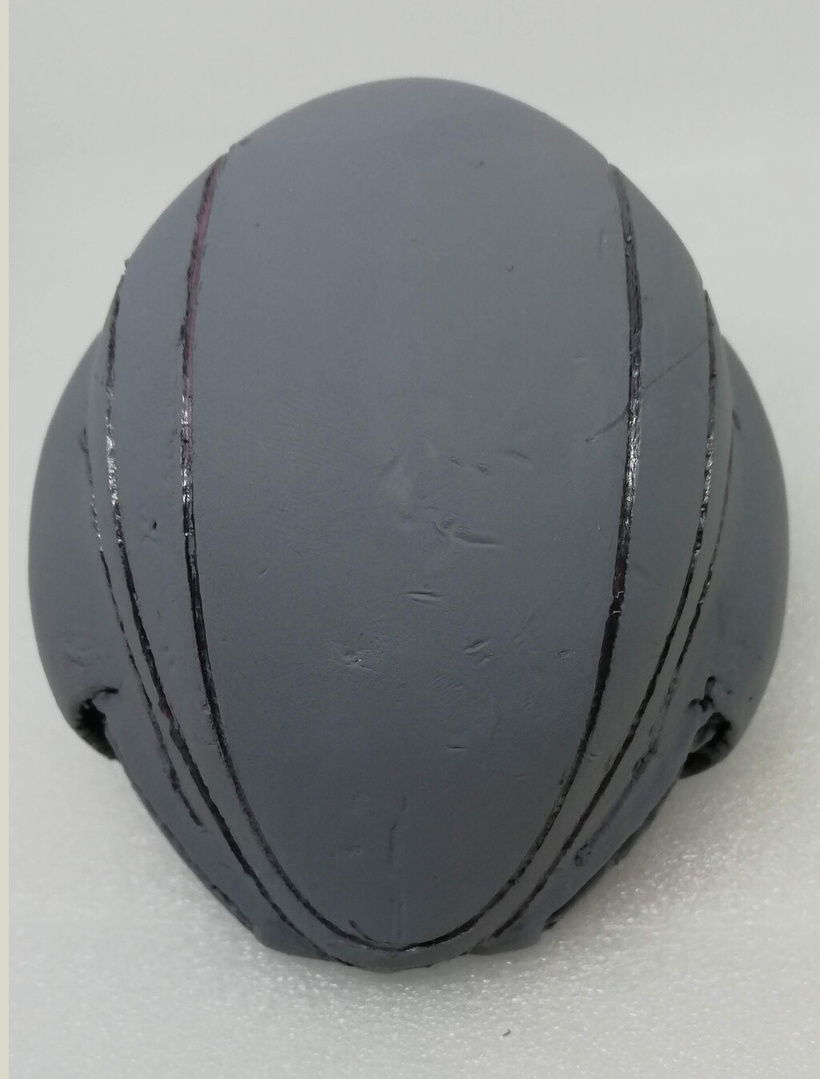
I don't have the tools to get into those rear grooves.
You can see that I've sanded back down to the milliput filler in some areas.
Next was another layer of primer. I took the model outside to spray it on.
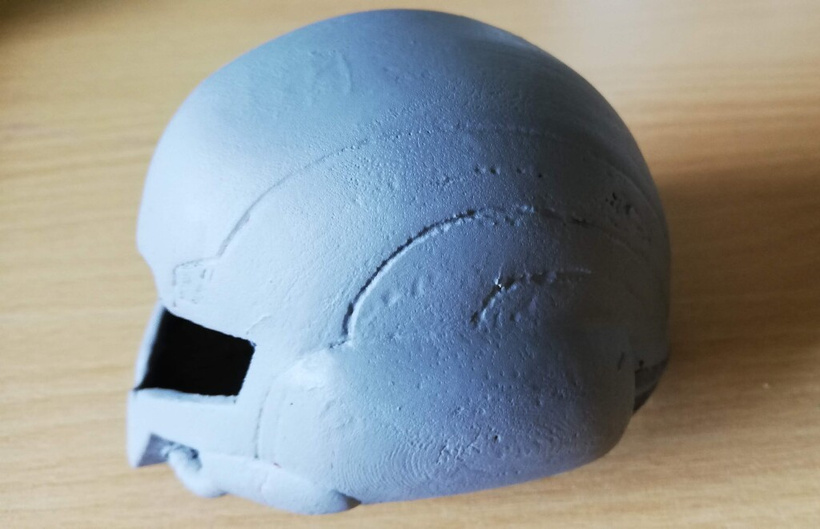
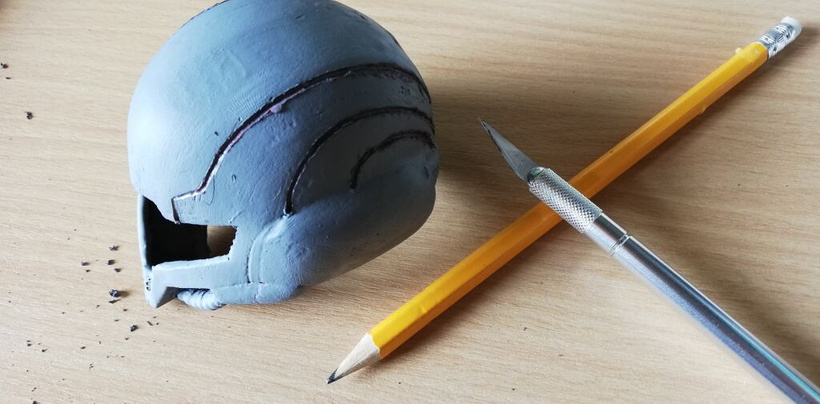
I added a few think layers and waited until it had nearly dried before taking it in to fix some of the details. I took my trusty craft knife to trace out some of the grooves and then used a pencil to clear out the unwanted primer.
I let the primer dry some more, sanded and then repeated (more primer, fix details).

I waited a few hours for the last layer of primer to dry, sanded and added a few thin layers of paint. I would have added a few more but it began to rain.
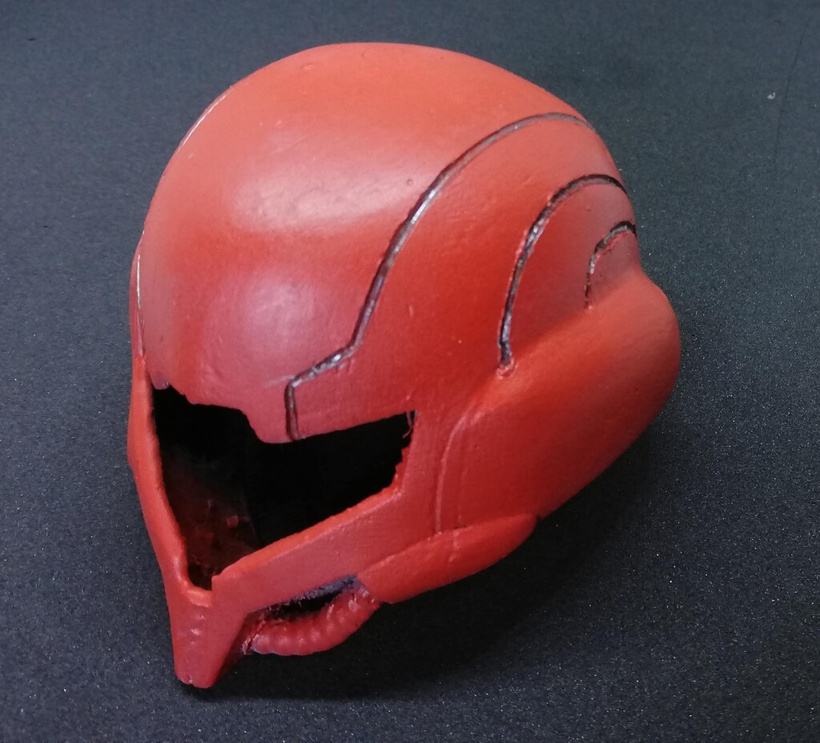
The results aren't perfect but it is far better than where we were.
It definitely pays to take your time.
Next steps: a light sanding and another layer of paint.


