
tbdmaker
Publishing random stuff that interests me.
Recent Posts
- Ping
- I'm still here - Proof
- Space Marine - Take 2 - Part 2
- Necron Terrain - Research
- Necron Terrain - preamble
- Space Marine - Take 2
- Battle Ready Space Marine
- Lazy Warhammer Sunday - Part 2
- Lazy Warhammer Sunday
- Warhammer
- bbguns4less - Jumbo Mystery Box
- Animated Intro Logo
- Intempo Mini Action Camera
- Electronics Store near Me
- Marvel's Midnight Suns
- XCOM: Chimera Squad
- Patreon Integration
- Raining, wet and muddy but...
- Fritzing Fabrication - NRF24L01P + DLP2232M
- BOBOO RC Drone for Kids
Wrapping up the make...
To finish of the helmet, I lightly sanded it with some 1200 sandpaper and then applied three thin layers of spray paint. Once dry, I slightly buffed with a cloth then inked in some of the details.
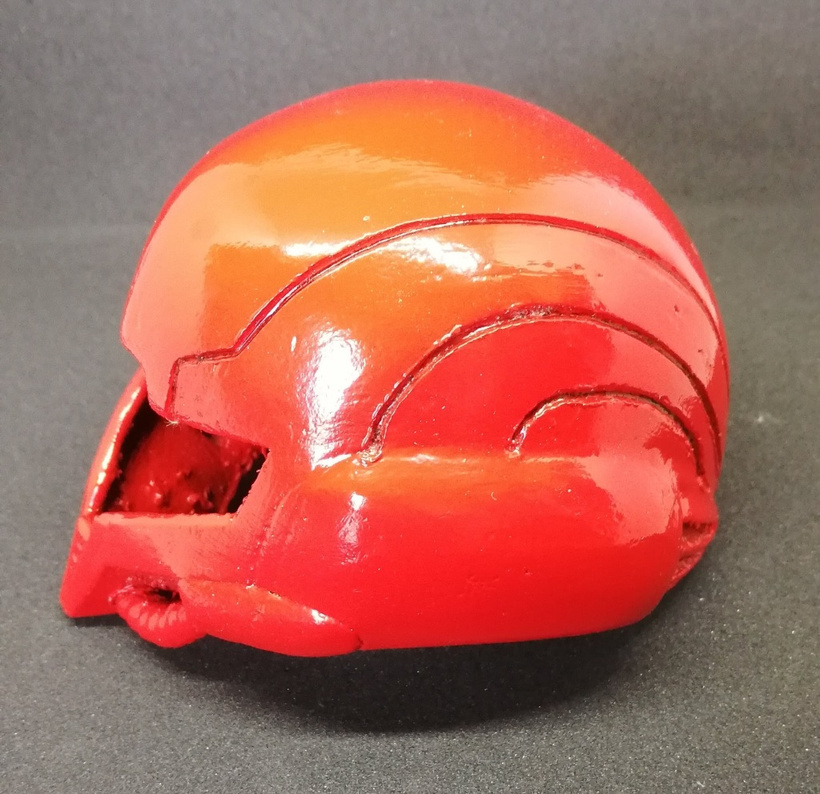
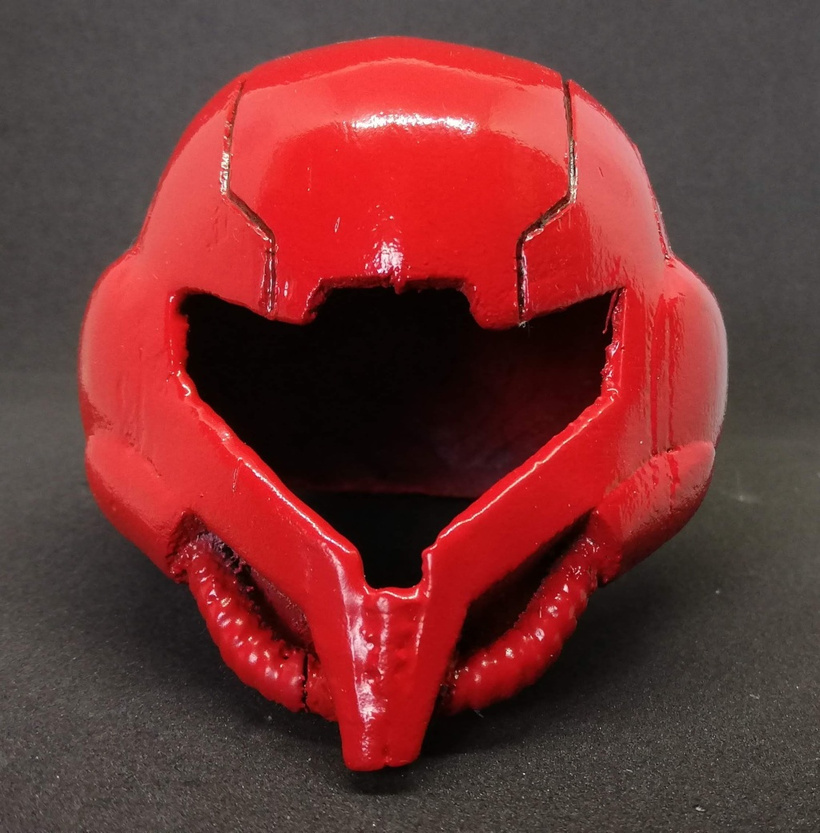
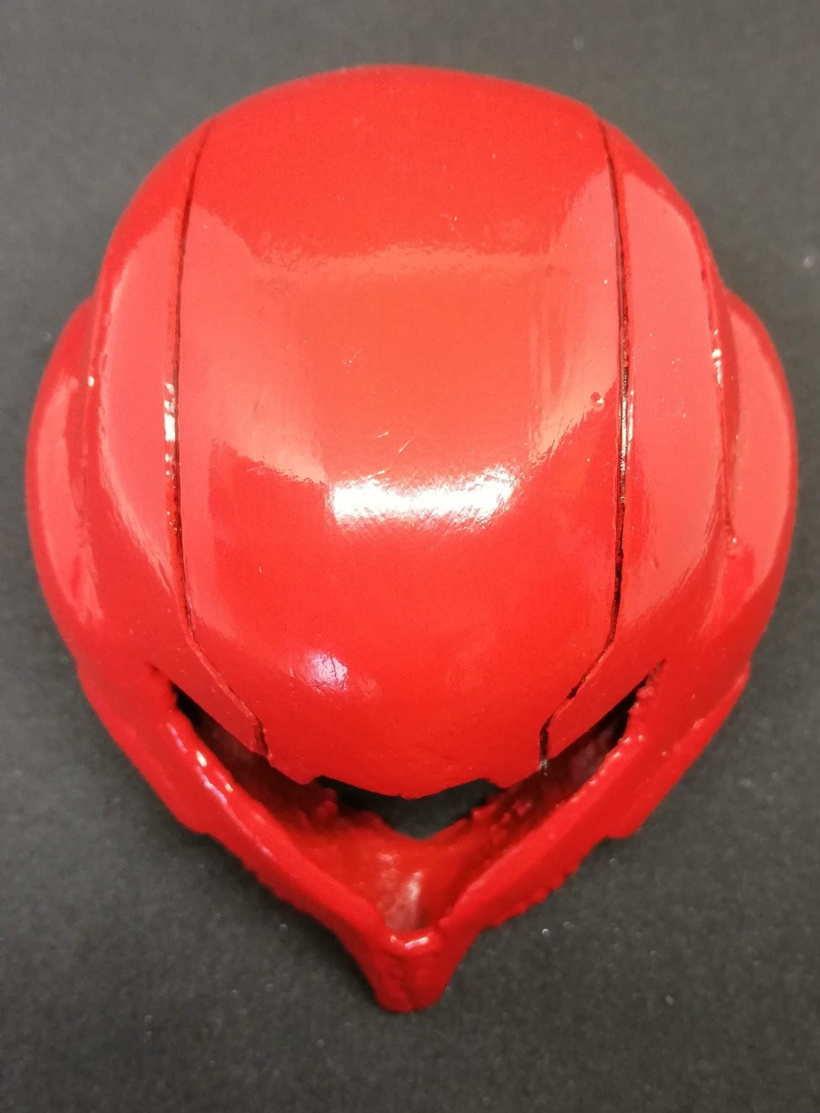
It hasn't turned out too badly. There are still some visible print lines, a few imperfections and some of the finer details were lost but it'll do.
In hindsight, I should have removed a few sections from the model, such as the tubing, before printing.
Be careful when scaling your model down as it could lead to thins walls and faulty prints.
Milliput worked out quite well for filling in the large holes. I should have added a little water to make it easier to work with. The milliput sludge worked really well, reinforcing the rather fragile print.
It pays to spend time sanding and sorting out the imperfections in the model before painting. If you print your model in multiple sections then don't rush to glue the sections together, do some prep work on them first.
The Mars Red looks great. The model is quite sturdy. As I'm using it as reference for a much larger helmet I'm going to call it finished.
Materials:
- Halfords Volkswagen Mars Red Car Spray Paint
- Halfords Plastic Primer (Grey)
- Milliput


